
As promised in the last post, we are going to create a custom Anisette server. For this, we are going to use a freshly created VPS with Ubuntu installed.
Installing Docker & Docker-Compose
First of all, do not install the snap version of Docker that comes with the default repos of Ubuntu. We are going to use the official guide for installing Docker on Ubuntu, only slightly modified. Here are the commands I have used:
sudo apt update
sudo apt install ca-certificates curl -y
sudo install -m 0755 -d /etc/apt/keyrings
sudo curl -fsSL https://download.docker.com/linux/ubuntu/gpg -o /etc/apt/keyrings/docker.asc
sudo chmod a+r /etc/apt/keyrings/docker.asc
echo \
  "deb [arch=$(dpkg --print-architecture) signed-by=/etc/apt/keyrings/docker.asc] https://download.docker.com/linux/ubuntu \
  $(. /etc/os-release && echo "$VERSION_CODENAME") stable" | \
  sudo tee /etc/apt/sources.list.d/docker.list > /dev/null
sudo apt update
sudo apt install docker-ce docker-ce-cli containerd.io docker-buildx-plugin docker-compose-plugin docker-compose -y
sudo docker run hello-world
The commands above will install Docker's GPG key, add the Docker repository to your apt sources list, install Docker and Docker-Compose and to make sure everything works as expected, it will run the hello-world image.
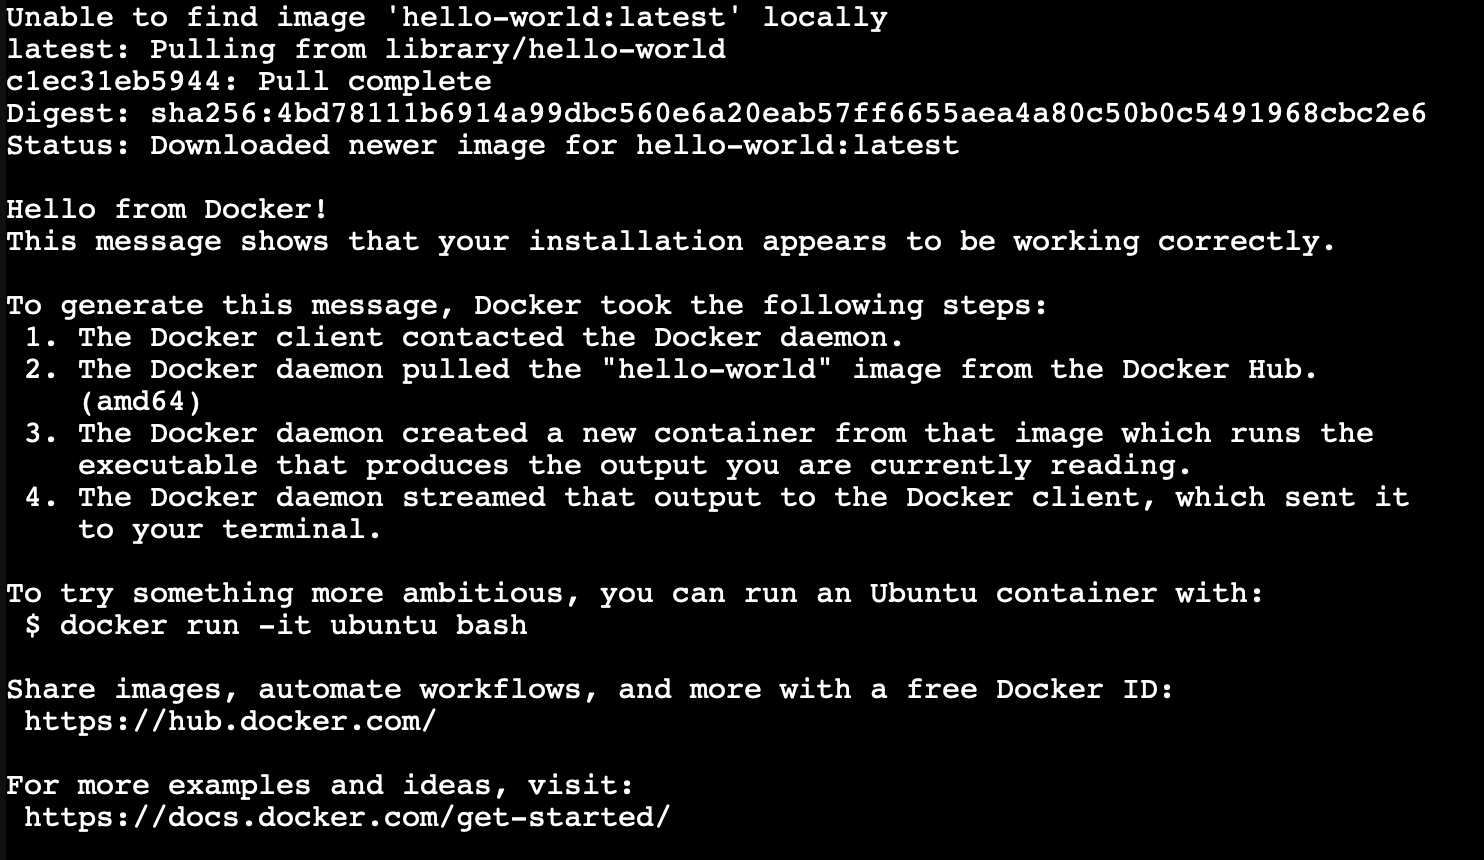
If you see this, then Docker installed correctly on your system
Setting up the Anisette server
Now that docker is fully installed, we are going to use Dadoum's Anisette Docker image to launch an instance of Anisette server.
To do so, you can run the following command:
docker run -d --name anisette-v3 -p 6969:6969 --restart always --volume anisette-v3_data:/home/Alcohdolic/.config/anisette-v3/lib/ dadoum/anisette-v3-server
And after the image is pulled and the container starts, if we check the logs, we can see that it started up successfully:

This is what the output should look like.
Installing NGINX & Creating a reverse proxy
Installing NGINX is as simple as:
sudo apt update && sudo apt install nginx -y
And after the installation is done, we need to create a configuration file for our reverse proxy in /etc/nginx/sites-enabled. The best practice is to use the name for the domain or subdomain, for example: anisette.domain.tld.conf
The configuration is as follows:
server {

        listen 80;
        listen [::]:80; # only for ipv6
        server_name anisette.domain.tld;

        location / {
                proxy_pass http://127.0.0.1:6969; # in case you want ipv6, replace 127.0.0.1 with [::1]
                proxy_set_header Host $host;
                proxy_set_header X-Real-IP $remote_addr;
                proxy_set_header X-Forwarded-For $proxy_add_x_forwarded_for;
                proxy_http_version 1.1;
                proxy_set_header   Upgrade $http_upgrade;
                proxy_set_header   Connection "upgrade";
        }
}
Save your file, and before restaring your web server, make sure the configuration file is correct by running nginx -t.
If you get:
nginx: the configuration file /etc/nginx/nginx.conf syntax is ok
nginx: configuration file /etc/nginx/nginx.conf test is successful
then you are ready to restart your web server and you are good to go!
service nginx restart
To make sure the connection between your webserver and domain works, simply use curl to see if it outputs anything. If it does spit out verbose JSON (related to X-Apple-* values), it means it is working.
All that remains, is connecting SideStore to our Anisette server
To connect your Anisette server to SideStore, in your iDevice, go to Settings App, scroll down until you find SideStore, toggle `Use preferred servers` if it is green and input your domain for your Anisette server. It is as simple as that!
Now you are ready to sideload any app you want, without worrying of your Apple ID being locked out. Of course, you are still limited to 3 apps max, but you are safer this way. If you want to, you can use third-party solutions to enroll your device or even get a developer certificate so you can sideload as many apps as you want, but I wouldn't really recommend them as they can get revoked very easily by Apple and they can threaten your device's security.
Enjoy!
Thank you for reading this article!
If you enjoyed this article, keep reading my other articles, you may bump into other interesting topics. The next article will be Linux related, so stay tuned!